Showing posts with label garlic. Show all posts

Friday, May 17, 2013

Roasted Cauliflower


1 head cauliflower
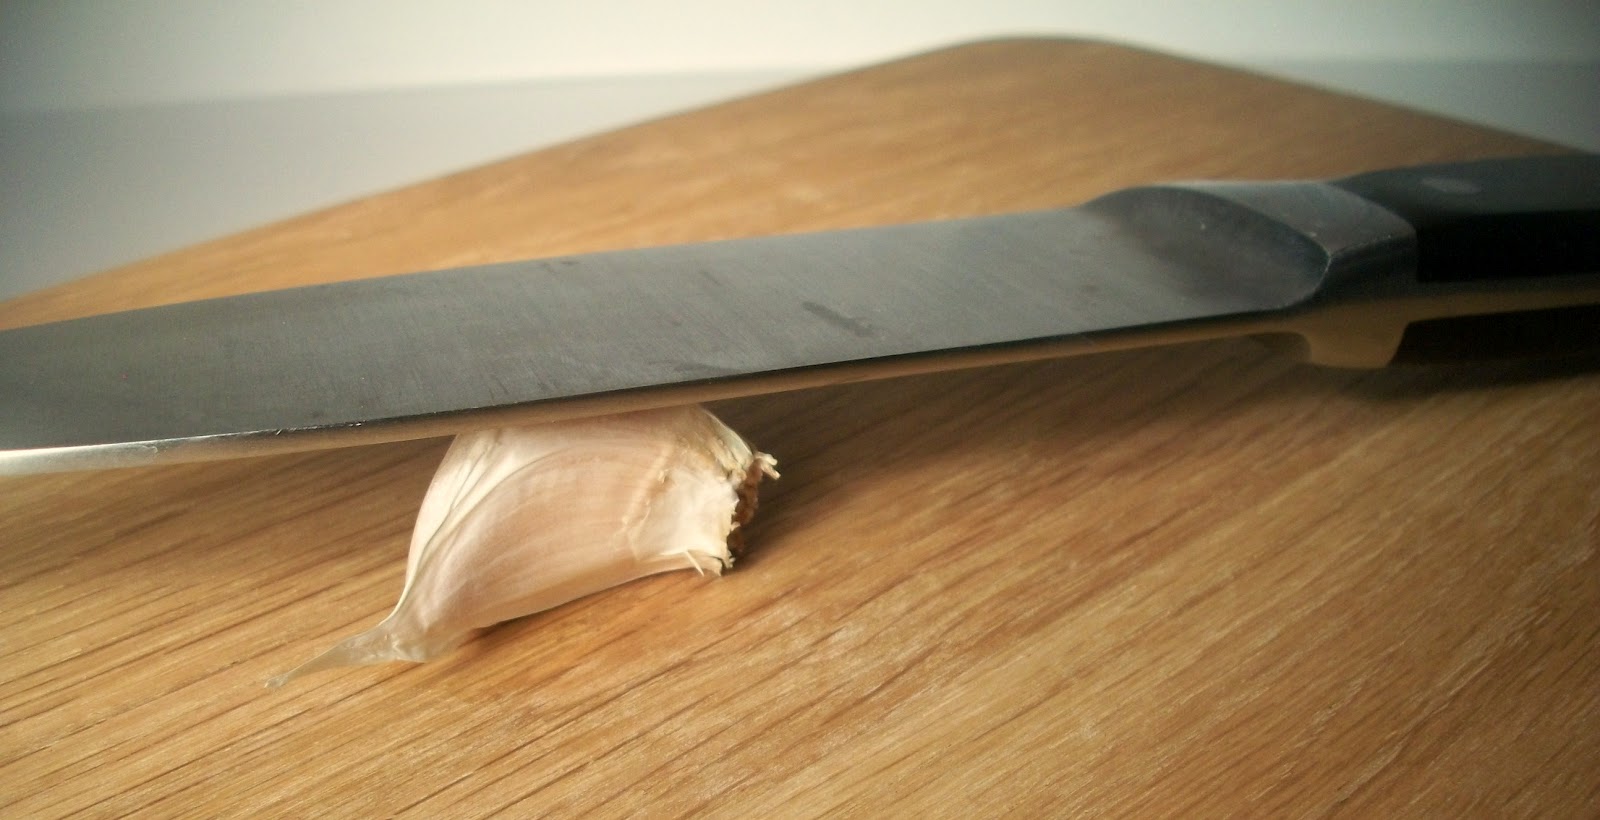
6 cloves garlic, finely chopped
5 strips bacon, chopped

Preheat oven to 425 degrees.  Cut the cauliflower into florets that are approximately the same size. Place cauliflower on a baking sheet sprayed with cooking spray.  


 Sprinkle chopped garlic over top.  


 Arrange bacon over cauliflower. 


Bake 25 to 30 minutes or until golden brown on the edges, stirring the cauliflower a couple of times while baking.


The weather is warming up and I only have a few days left to use my oven before it gets too hot.  I love to roast vegetables!  This recipe and my Roasted Brussels Sprouts recipe are two of my families favorites.  Roasting gives the vegetables a rich and I think a slightly sweet flavor.  I end up eating more vegetables than meat when they are roasted, and that is a good reason to heat the kitchen up a little.


My new cookbook is available at schools, businesses, hospitals, and book fairs in cities across the United States.  Be sure to pick up a copy or two, when you see them.  They make great gifts!

Check back on Tuesday,
for my Tuesday's Tips & Tricks post! 

Follow me on my Facebook page!

Visit my friends blogs!

GINGERLOCKS' KITCHEN, has become one of your favorite blogs! Stop by Jordan's blog and take a peek! 

Also visit my friend Pam's blog, Pam's Midwest Kitchen Korner,  for more great recipes!  Once you read her blog, she will be your friend too!

Friday, May 3, 2013

Slow Cooker Salsa


8 Roma tomatoes, chopped
1/3 cup finely diced onion
2 to 4 jalapeƱos, seeds and veins removed, chopped
4 cloves garlic, minced
3 teaspoons taco seasoning mix

Place tomatoes, onion, jalapeƱo, and garlic in slow Cooker.  Mix well.  


Cover with the lid.  Cook on low 2 1/2 to 3 hours.  


Add taco seasoning.  Salt to taste.  Mix well. Cool slightly.  


In batches, add salsa to blender or food processor.  Blend until smooth.
Cool completely before serving.  Serve with tortilla chips.


I know what you are thinking, "Taco seasoning in a salsa recipe.  Is she crazy?"  If you ask anyone, but my sister Shelley, they would say no.  Most of the time my sister would agree, I am not crazy.

There are a lot of people who are afraid of using spices, so they shy away from recipes that use several different types.  By using the taco seasoning, you get a great mix of the Mexican flavors you love in salsa, without being intimidated.

My husband prefers cooked, blended salsas to chunky salsa.  This recipe is one of his favorites.  I hope you like it too! 


My new cookbook is available at schools, businesses, hospitals, and book fairs in cities across the United States.  Be sure to pick up a copy or two, when you see them.  They make great gifts!

Check back on Tuesday,
for my Tuesday's Tips & Tricks post! 

Follow me on my Facebook page!

Visit my friends blogs!

GINGERLOCKS' KITCHEN, has become one of your favorite blogs! Stop by Jordan's blog and take a peek! 

Also visit my friend Pam's blog, Pam's Midwest Kitchen Korner,  for more great recipes!  Once you read her blog, she will be your friend too!

Tuesday, April 17, 2012

Tuesday's Tips & Trick: Another Garilc Trick


A couple of months ago, I got an email asking for a tip on how to peel garlic.  I wrote two posts on the subject, Peeling Garlic and Peeling Garlic II.  When I was at my Mom's last week, she gave me a another tip to pass along to you.

Put the cloves of garlic you want peeled on a microwave safe plate.  


Microwave for 15 seconds.


The garlic heats up and expands, causing the peel to crack.


The clove easily slips out of the peeling!


Thanks Mom, for yet another great tip!


Visit my friends blogs!

You will love Bo and his blog,  Bo's Bowl.  Not only does he host great giveaways,  his recipes are incredible!  One visit to his blog and you will see why I faithfully follow it.

Also visit my friend Pam's blog, Pam's Midwest Kitchen Korner,  for more great recipes!  Once you read her blog, she will be your friend too!

Tuesday, February 28, 2012

Tuesday's Tips & Tricks: Peeling Garlic II & Giveaway Winner!


One of the things I love about blogging, is the sharing of information.  My friend Jamie, saw the post about peeling garlic and gave me another great trick for peeling it. 


Jamie, said to place the garlic cloves in a bowl with a lid and shake until the peel comes off. I decided to give her way a try.

I put a clove of garlic in a plastic storage container.  Secured the lid and gave it a few shakes. 


And guess what?  It worked!  The peel came off and the clove of garlic was perfectly whole. 


Thanks Jamie!
 
Check back on Friday, for my 
Baked Pasta recipe!


 The winner of my Giveaway is:
Congratulations!

Keep checking back for more Giveaways!

 
Visit my friends blogs!

You will love Bo and his blog,  Bo's Bowl.  Not only does he host great giveaways,  his recipes are incredible!  One visit to his blog and you will see why I faithfully follow it.

Also visit my friend Pam's blog, Pam's Midwest Kitchen Korner,  for more great recipes!  Once you read her blog, she will be your friend too!

Tuesday, February 21, 2012

Tuesday's Tips & Tricks: Peeling Garlic


My friend Ashley, left a comment on the blog, asking for tips on peeling garlic.  I have two tips to share for peeling garlic.

1.  If I am going to mince garlic, I place the garlic clove on the cutting board.  I take my chef knife and place it over the garlic, sharp edge facing away from me. 


Using the heel of my hand, I hit the knife directly above the garlic.  The harder you hit the knife the more smashed the garlic will be.  You can then easily remove the the skin. 


I also do this technique to break up the bulb of garlic into cloves.  Make sure you hit the bulb gently to break it up and not smash the cloves.

2.  If I want to keep the garlic clove whole, I place the clove on a rubber jar opener.


 Fold the jar opener in half so the garlic clove is in the center. 


Using the palm of your hand, roll the clove around until the skin peels off.


I hope that answers your question, Ashley!

Stop back on Friday, for my
Toasted Sesame and Garlic Hummus recipe!


Enter my Giveaway for your chance to 
win a copy of my cookbook,
MY KIND OF COOKING, and cute kitchen towels!


Visit my friends blogs!

You will love Bo and his blog,  Bo's Bowl.  Not only does he host great giveaways,  his recipes are incredible!  One visit to his blog and you will see why I faithfully follow it.

Also visit my friend Pam's blog, Pam's Midwest Kitchen Korner,  for more great recipes!  Once you read her blog, she will be your friend too!

Friday, October 22, 2010

Recipe: Mediterranean Salsa

Mediterranean Salsa

3 tablespoons olive oil
1/4 cup fine chopped onion
4 cloves garlic, minced
4 tomatoes, seeded, chopped
24 green olives, chopped fine
2 Anaheim Chiles, seeded and chopped fine
1 1/2 tablespoons red wine vinegar
1/2 teaspoon Cayenne pepper
1/2 teaspoon ground cumin
1/2 teaspoon salt

In large saucepan over medium heat, saute onion and garlic in olive oil until lightly browned.  Add remaining ingredients and bring to a boil.  Reduce heat to low.  Simmer 5 minutes.

This recipe has a unique blend of flavors and the perfect amount of heat.  It is from the first cookbook I wrote, MILD TO WILD MEXICAN COOKBOOK.  The recipe was a last minute addition.  The designer called me, saying she needed one more salsa recipe to complete the Appetizer section of the book.

I had already put all of my salsa recipes in the cookbook, so I had to create a new one.  As I opened my cabinet, I was praying for inspiration.  The first thing  that caught my eye, was a jar of green olives.  I immediately thought back to a conversation I'd had earlier in the day with Fareed, the owner of my favorite radio station, Passion Radio, where I do my "Fast Food Friday" segment.  We had discussed how much we both loved Mediterranean food, so when I saw the green olives, I knew I had to make a salsa with them in it. It only took two batches of salsa to get the desired blend of flavors.

My husband loves this recipe, so It is probably the one recipe that I make the most.  When I am creating a recipe, and I get it just the way I want it, I will seldom make it again.  I have to keep coming up with new recipes, because I am always working on a new cookbook, and you can't do that if you keep making the same recipe over and over again.

MILD TO WILD MEXICAN COOKBOOK, will soon be republished by my current publisher. 

Sign up as a follower, to enter my monthly, Cookbook Giveaways!
Check out my post about the Giveaway for details.


Visit my blogging buddy, Bo's Blog (say that three times fast)
Bo's Bowl. Not only does he have great giveaways,  his recipes are incredible!  One visit to his blog and you will see why I faithfully follow it.

Also visit my friend Pam's blog, Pam's Midwest Kitchen Korner,  for more great recipes!  Once you read her blog, she will be your friend too!

Friday, July 23, 2010

Recipe: Grilled Orange Chicken

Grilled Orange Chicken

 4 boneless, skinless, chicken breasts
1/4 cup orange juice
1/2 cup chicken broth
2 tablespoons soy sauce
2 cloves garlic, minced

In large resealable plastic bag, place chicken.  In small bowl, combine remaining ingredients.  Mix well.  Add to bag with chicken.  Seal bag.  Toss gently to coat chicken.  Refrigerate 3 to 12 hours, turning bag over often.  Discard marinade.  Grill on medium heat 15 minutes or until no longer pink in the center.  Makes 4 servings.

This is one of my go to recipes when I know I am going to only have a short amount of time to cook.  And this week is one of those weeks!  I have been helping our Passion Play Ministries International team going to India, prepare for the trip.  I was going to be a part of this trip, but the dates got pushed back, and if I went I would miss my son's birthday.  I love to travel, but I love my son, Tyler, more. 


I will be drawing a name from my followers to win a copy of my cookbook, MY KIND OF COOKING, on August 6th.  If your name is drawn and you have a blog, I will mention your blog address on my "Fast Food Friday's" radio show on the The PCL Radio Network, and then post your blog address on my blog.

 Sign up as a FOLLOWER for your chance to win!

The first Friday of each month, I hold a drawing for a FREE copy of my cookbook, MY KIND OF COOKING.  This cookbook has over 500 yummy recipes using only 3, 4, or 5 ingredients.  It has everything from appetizers to desserts and everything in between.  It also includes slow-cooker recipes! 

For your chance to win, all you have to do is sign up as a follower.  To find the Follow button, scroll down the blog and look on the  right side.

If you are looking for more giveaways to enter, check out my friend's blog, Pam's Midwest Kitchen Korner.  She is giving away a book called "Street Food Chicago" by chef Mike Baruch. 

Friday, February 26, 2010

Recipe: Fried Garlic Bread


Fried Garlic Bread

4 slices French Bread, 1 1/2 inch thick
3 teaspoons butter or margarine, softened
1/2 teaspoon garlic powder
1/4 cup grated Parmesan cheese

On each bread slice, spread butter. Sprinkle garlic powder, then Parmesan cheese on top. In large skillet, place bread cheese side down. Fry over medium heat until golden brown. Makes 4 servings.

Recipe can be found on page 211 in  
MY KIND OF COOKING COOKBOOKS.
This is a yummy garlic bread recipe! My husband loves the garlic bread they serve at restaurants. This is my version of that bread. It has a crispy, cheesy, browned top with a soft and chewy bottom.

We have an empty nest at our house. When I cook now, it is usually just for my husband Stan and I. When we are hungry for garlic bread, I only need a couple of slices not the whole loaf. When I buy a loaf of French bread, I slice it and pack it in individual plastic storage bags and freeze. It is hard for the two of us to eat the whole loaf and this way I won't have to throw away food. I hate to throw away food! I have seen the starving children in third world countries. It changes how you view things.